Showing posts with label quilts. Show all posts

Selfie Pillow

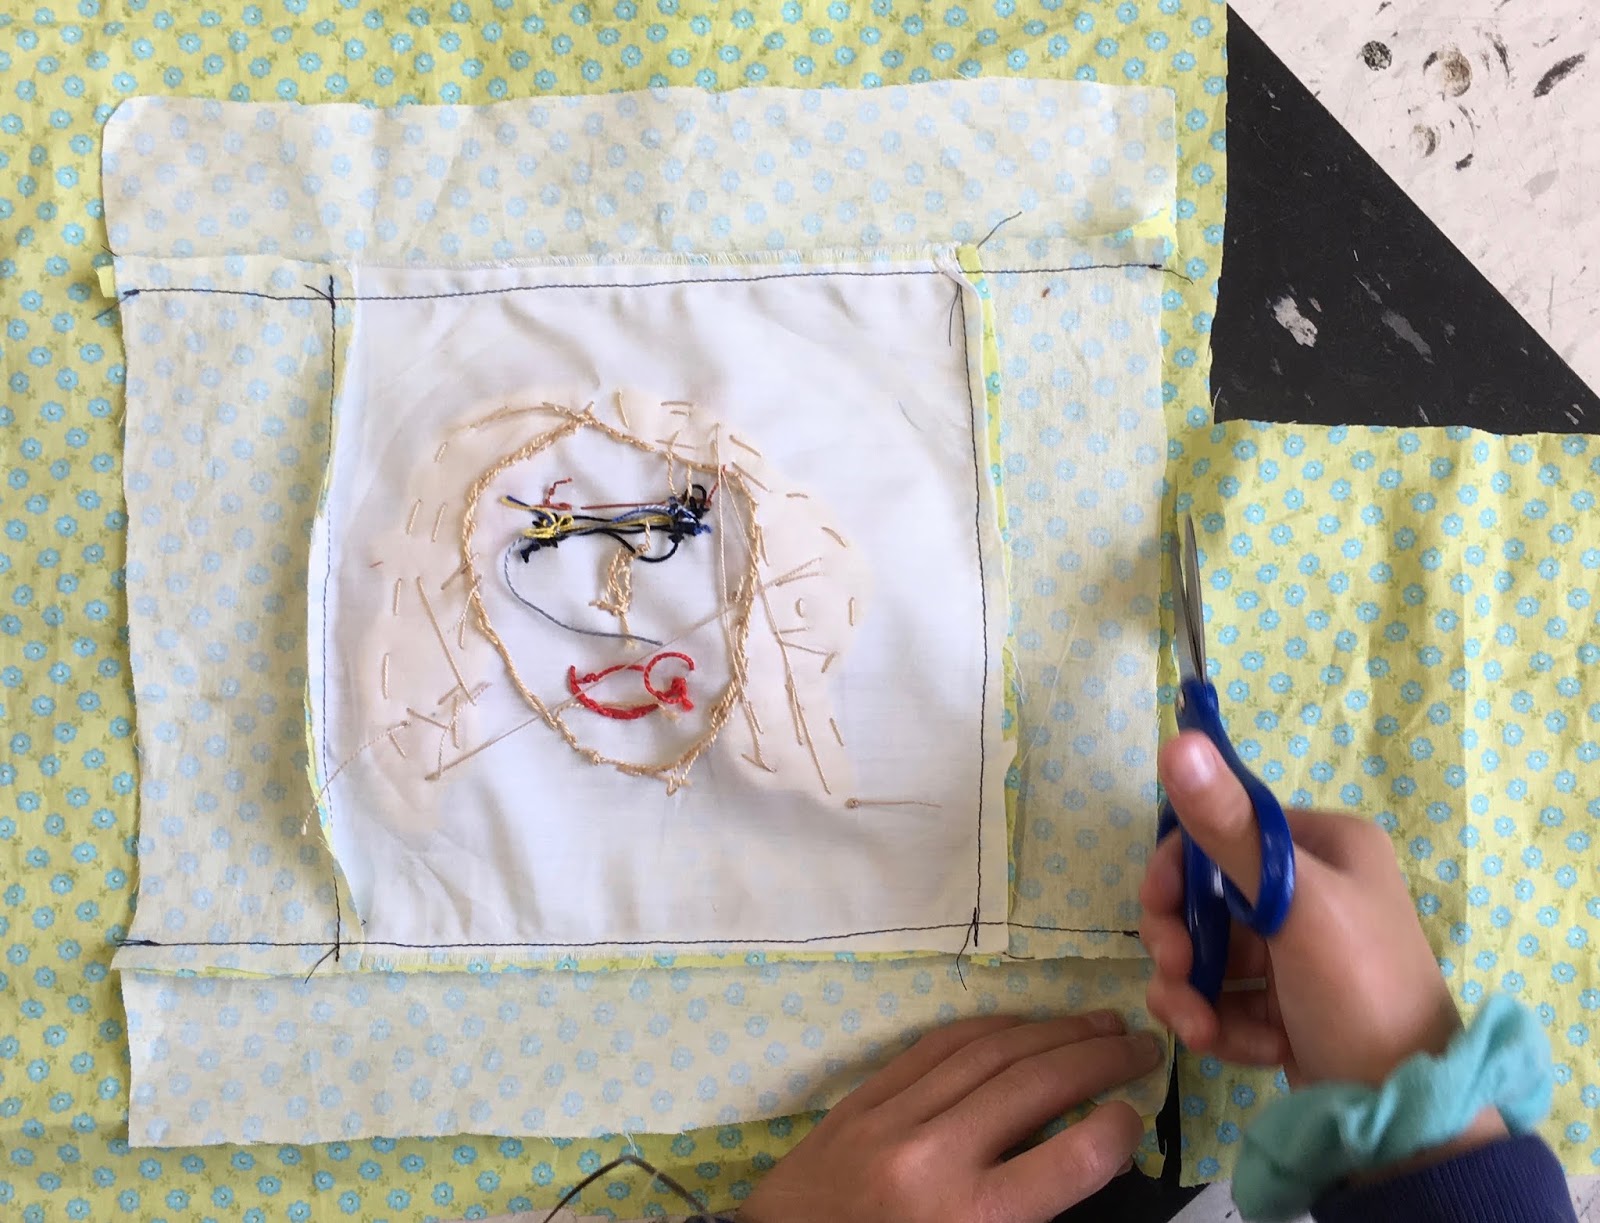
The favorite project at In Stitches! camp this year was the Selfie Pillow. Each pillow is unique as the camper who made it! My favorite part of the project is the hair and I even dedicated an entire page in Sewing School Quilts to different hairstyles. We discovered a new technique for wavy hair this year - ric-rack!

Not only does the Selfie introduce a variety of embroidery stitches, turning it into a quick pillow teaches simple patchwork. In Sewing School Quilts, the project is made into a quilt, but for camp, we thought a pillow would be a fun and quick project. 
 It's me, on a pillow! Follow along with Maddy to make your own selfie pillow.

First, using the directions in Sewing School Quilts, make a selfie square. We used 8x8 squares of muslin for our selfies. This size seems to be a good beginner size.
Next, decide on the pillow fabric and make a quick pattern for the panels that will go around your selfie. Our finished pillows are about 12 inch square.

To make this size, you'll need patterns that are:
2-1/2 x 8 inches (cut 2)
2-1/2 x 12 inches (cut 2)
*Note that you you can just measure and cut the fabric.
 Lay the 8 inch pieces along the sides of your selfie.
Flip over the sides, so that the good sides of the fabric are covering the face. Pin in place so that the edges are even. Using a sewing machine, stitch the fabric strips to the selfie. 
 I see you! Now, Open up the sides and do the same to the top and bottom of the selfie.
 Open up the entire panel and iron the seams on the back flat to one side.
 Using your selfie panel as a pattern, cut out the backing fabric. See how the good sides are facing? This will make it easier to sew and ensure that the back and front are the same size.
Leaving a hole along the bottom for stuffing, sew around the selfie. Stuff until it's soft and then hand sew the hole closed.

Quilting in the News

Excited to wake up this morning and find a wonderful article about Sewing School Quilts on the cover of the Memphis Commercial Appeal. In a day and age where life can be stressful, it's nice to know that art and quilting can sometimes be above the fold!  Read the article!


Heart in Hand Quilt

My first school auction quilt - Heart in Hand.  I am so proud of the work that these sweet second graders did.
We have a big class this year, 54 students.  The kids got into embroidering the outline of their hands.  We used soap to trace the hands which they thought was quite clever.
 After their hands were stitched, a heart was added using heat-n-bond lite.  Then, the kids embroidered around the heart.
The fabric is this amazing blue hombre and the print is by Jenean Morrison.  We wanted a theme and fabric colors that would appeal to both boys and girls and be cute and nice, but not too cutesy.  This was a hard task, but I think we achieved it!
We also added a few school touches with some anchors, our school emblem, and the kids' names are professionally embroidered on the back.  The quilt was pieced and quilted by Sew Darla, a friend and amazing quilter.
The best part?  Finding your hand on the quilt!  I am so happy that this special quilt found a wonderful home.

Art Techniques for Quilt Designs Blog Party!

I am thrilled to be part of Carrie Bloomston's blog party to celebrate her new DVD Art Techniques for Quilt Designs.  You can enter to win a copy of the DVD on her blog Such Designs.

Carrie and I met via the web after Sewing School just came out.  She posted about making My Very Own Skirt with some sweet girls and I was thrilled to not only have her support, but to see the cute skirts.   Fast forward a few years and Carrie has exploded onto the scene with an awesome fabric line, patterns, a DVD, and a soon-to-be-released book that I'm sure you'll hear me rave about soon.  Carrie is one of those people that inspires.

While I was excited to watch the DVD, I wasn't sure what to expect.  I am quick to say, "I'm not an artist."  I mean, really, most of my students draw MUCH better than me.  There is a reason why I sew with kids, folks!  Anyway, the video starts off with these amazing mini-art lessons.  It's like having art school in your living room.  My kids sat down with me and were into watching her show to make a quick sketch and get the gesture of an object.

Next, she shows how she takes her ideas and inspiration and transforms them into a one-of-a-kind art quilt like her Nest Quilt.  Carrie's approach is super supportive and encouraging.  Plus, you'll learn helpful tips like using glue stick instead of pins.  Hmm...maybe even I can draw and make design my own quilts!

The video is broken down into several segments that make it easy to watch over time and offers ideas for practice and time for trying new things.  Also, Carrie is so friendly and real.  While I've never met her in person, she's exactly how I expected her to be.

So, if I haven't raved enough and you want to hear more, check out the other blog party posts around the web and make sure to check with Carrie at Such Designs so that you can enter to win a copy of the DVD. Hurry along, the giveaway ends October 4.

1.  Erica Sage
 2. Brooke Sellmann
3.  Stephanie Denton
4. Claudia Gomez
6. Karen Lepage
7. Verena Ehrhardt
8. Amie Plumley
9. Krista Fleckenstein 
10. Jessica Godfrey
11. Tia Curtis
15. Angela Tackett
16. Kristin Schwarze
17. Christen Barber
www.lovebyhand.com

Class Quilt

To end our school year, my class machine stitched together a class quilt.  Yes, machine stitched!  I always make a class quilt, but with second graders, I wanted to step it up a little and do some real patchwork!

For fabric, we used a set of pre-cut 5x5 squares that I had in my stash and cut muslin squares to match.  Each child made a four-patch and then we put them together.
On the muslin squares, the kids drew a self-portrait using fabric markers and crayons.  Then, they laid out a four-patch using the muslin portrait as well as three pretty fabric squares.   They got really into being a designer and figuring out their squares.  Our quilt discovery lesson helped prepare the kids for this activity.
 Next, they machine sewed the squares together using the presser foot as the guide.  They sewed two squares together twice, then put the sewn strips together to form a four-patch.  Great tutorial guide here if you want more info.
The scene in my classroom.  I discovered that I could put two machines on a spare desk.  Since most of my students had sewn before, this went quickly.  I did sit with students who needed help using the machines.
Sewn squares!  The entire class helped lay out the patches to form a quilt. The rule:  no two like squares could touch.
All sewn up!  I took the quilt top home and backed it with a soft flannel.  Using the Stripey Quilt directions in Sewing School 2, I made a quick flip quilt.  At school, we tied the quilt with craft thread.  We gave the class quilt to a dear classmate who is moving this summer so that she will always remember us!
Then again, how could she forget this silly group?!

Quilts + Math

 In a recent math lesson, we explored design and fractions using quilt blocks.  This open ended activity allowed the students to be creative and inquisitive while trying their hand at quilt design.
I had a stack of precut squares as well as some simple pieced blocks for the kids to "design" their own quilt squares.  They really got into it!
While some worked alone, several paired up.  Discussions about hot and cool colors, patterns, and symmetry were heard.
I also encouraged the kids to think about fractions.  Quickly, they discovered that they could fold the squares into smaller shapes and fit them together.  Look, it's fourths!
The second station was to recreate a quilt square using geoboards.  This activity was a little more challenging than they thought!  They discovered that a quilt is made of shapes sewn together.  We looked at actual pieced squares that included triangles, squares, and rectangles to create a single block.
I set out a few quilting books, and let them look through them to find a good square to recreate.
By the end of the activity, they were all wanting to quilt for real.  We may have a class quilt project on our hands.  I'll keep you posted!


Q Quilts

This week we are working on the letter Q, which I always use as an excuse to talk about quilts in class.  As I was looking through the blog to remember what I did and how I did it, I thought I'd share with you too!

Favorite Things Quilt inspired by Patricia Polacco's The Keeping Quilt.

The Friendship Quilt - can't wait to see how this year's quilt turns out!

The quilt journal is always a favorite and inspires lots of good writing.  Plus, it's a fun way to use up all our fabric scraps!
I love making Story Quilts with the kids and have even made a friendship quilt version of this - using paper instead of fabric.
The Q Quilt is my all time favorite way to reinforce the relationship between Q and U.  When you write the words, you have to make sure Q and U are together.  Plus, they look super cute hanging in the classroom.

This year, I have some mathy ideas for quilts, so I'll be sure to share them with you!


Scrappy Quilt

Phoebe sewed her very first quilt!  It's a little lap quilt, but is a real quilt!  She's been snuggling with it nightly.  We took the Adult/Child Quilting Workshop at Sew Memphis and had fun with teacher Pannay Guigley as she guided the class filled with mother-daughter pairs along.  I acted as Phoebe's lovely assistant.
One of Phoebe's favorite parts was using the iron.  I have to admit, I was a little nervous letting her iron, but she did a great job and was very careful.  Here, she really learned about seam allowances and making sure that the good sides are together when she sews.
After we put together all the squares, Phoebe had fun laying out the quilt.  She tried to make sure that no two same fabrics or same kind of squares touched.
Sewing the squares together.  She used my machine and the 1/4 inch foot.  I was a little worried that it would be way wonky and not come together nicely, but it did!
We made a little flip and turn quilt and tied it together with embroidery thread.  She's so proud & cozy!  You can make one too!  Follow Pannay's directions.

Now, while I may have been able to do this with her at home, I will say that having dedicated time (it was a 3 week class) as well as having someone else help us along the way was wonderful.  You might know how it can be trying to help your own child at times.  I hope this is the first of many more mother/daughter classes!

Quilt for Twins

A dear friend is having boy-girl twins soon and I thought a little quilt was in order.  The design is modeled after the quilt project in our new machine sewing book.  It's super fun and simple to whip up in a day.  Yes, easy enough for a child to make!
Picking out the fabric was the best part, of course!  I had a lot of help from Phoebe and Frankie not to mention the lovely Susan at Sew Memphis.  My inspiration fabric was Little Lisette's popsicle fabric.
I wanted the quilt to be gender neutral and kiddy, but not too baby.  I think we were successful.  Now, to wait for the babies....

Favorite Things Quilt

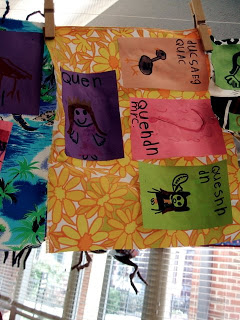
Phoebe made this sweet little quilt as part of a favorite authors camp.  Inspired by Patricia Polacco's The Keeping Quilt, the kids were given a square of muslin and asked to draw several favorite things or memories on the "quilt" using fabric markers. It turned out to be a cute little keepsake that I'm sure I'll be using in my classroom next year!

While that was the end of the project at camp, Phoebe has turned it into a "real" quilt for her favorite stuffed animal.  She added a backing and batting and I helped her to make a quick flip and turn quilt.  She even sewed along the block lines she had made which gives it a nice quilted feel.  This was a great intro into quilting for her and I'm sure we'll be working on a larger project in the future!
Some of her favorite things - diving at the pool, our cats (who are now departed) Donut and Bullitt, and that pink blob is ice cream.

This Year's Third Grade Quilt

 Each year, I am given the honor of finishing the third grade quilt.  I love how the teachers weave quilting into their math curriculum and have made quilt-making a tradition.  Plus, all of the materials are recycled.
I am, of course, not really a quilter.  But I can pretend to be one while working on this little lap quilt.  I added the batting, backing (an old sheet), and binding.  I attempted to "quilt" by sewing kinda in the ditch up the lines.  I ran into a little trouble, though, but I think it's just fine for a third grade quilt, don't you?