Showing posts with label creative classroom. Show all posts

Sew a Fluffy Cloud Softie


As part of the 2022 Sew a Softie Global Kids Sewing Party, I stitched up some Fluffy Clouds with a group of 4 and 5 year olds. Yep, preschoolers can sew too! It's all about having the right tools for little hands to use. 
Materials Needed: 2 layers of low-loft batting, markers, scissors, plastic needles and lacing strings. You can also make clouds using felt and regular sewing needles and thread. 

After learning about how clouds are formed and drawing several clouds on paper, draw your cloud shape right onto the double-layer of low-loft batting. Drawing on batting is a bit tricky, and you might need to combine clouds to get the right shape, but it is a fun, new experience. 

Next, cut out the cloud shapes. Be sure to cut through BOTH layers of batting and take your time! Save the batting scraps to use as stuffing. 

Now it's time to sew up the clouds! We used plastic needles and lacing strings, but you could also use regular needle and thread for this. The plastic needles slide through the batting easily. 

Be sure to leave a small hole (about the size of your hand) for stuffing! Use the batting scraps or polyfil to stuff the cloud until it's soft and squishy. Now, sew the hole closed and be sure to make a knot at the end of sewing.


You have a fluffy cloud! They make great pillows, are great for throwing up in the sky, and enjoy getting hugs too. 

What kind of cloud did you make? A cirrus, cumulus, or stratus cloud?

Sew a Softie is a world-wide initiative led by the amazing Trixi Symonds. Follow along on IG at @sewasoftie to see all the amazing tutorials and kid-friendly projects.  

Sew an Elf Hat!


This year for Sew a Softie for the Holidays, I decided to revisit a favorite - the elf hat. I originally was going to rewrite and photograph the post, but then realized that my directions from 2009 still held up. Plus, I love all the kid-made tracing and stitching!

So, please click here to enjoy the original post. These kids are now driving and are in high school!

A few elf hat tips:

  • We make our elf hats out of fleece, but felt works well too. 
  • You can make a pattern if you are sewing with a group. If it's just 1 or two kids, get out a yard (or meter) stick and have them help measure the triangle shape.
Happy holiday sewing!

Tips for Teaching Virtually

I recently joined forces with Liz Phillips from 
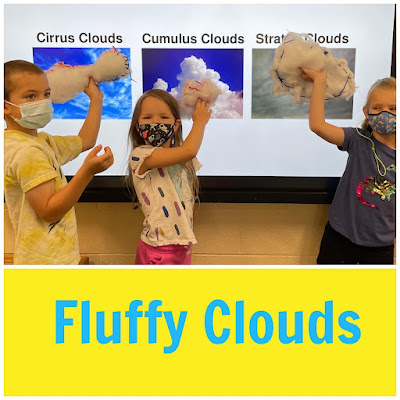
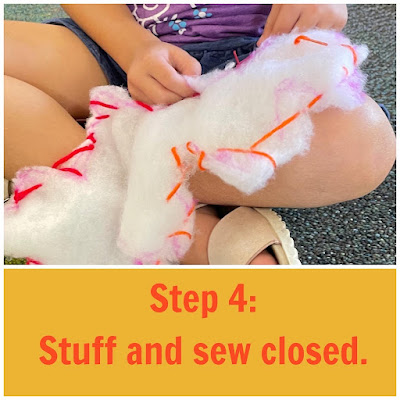
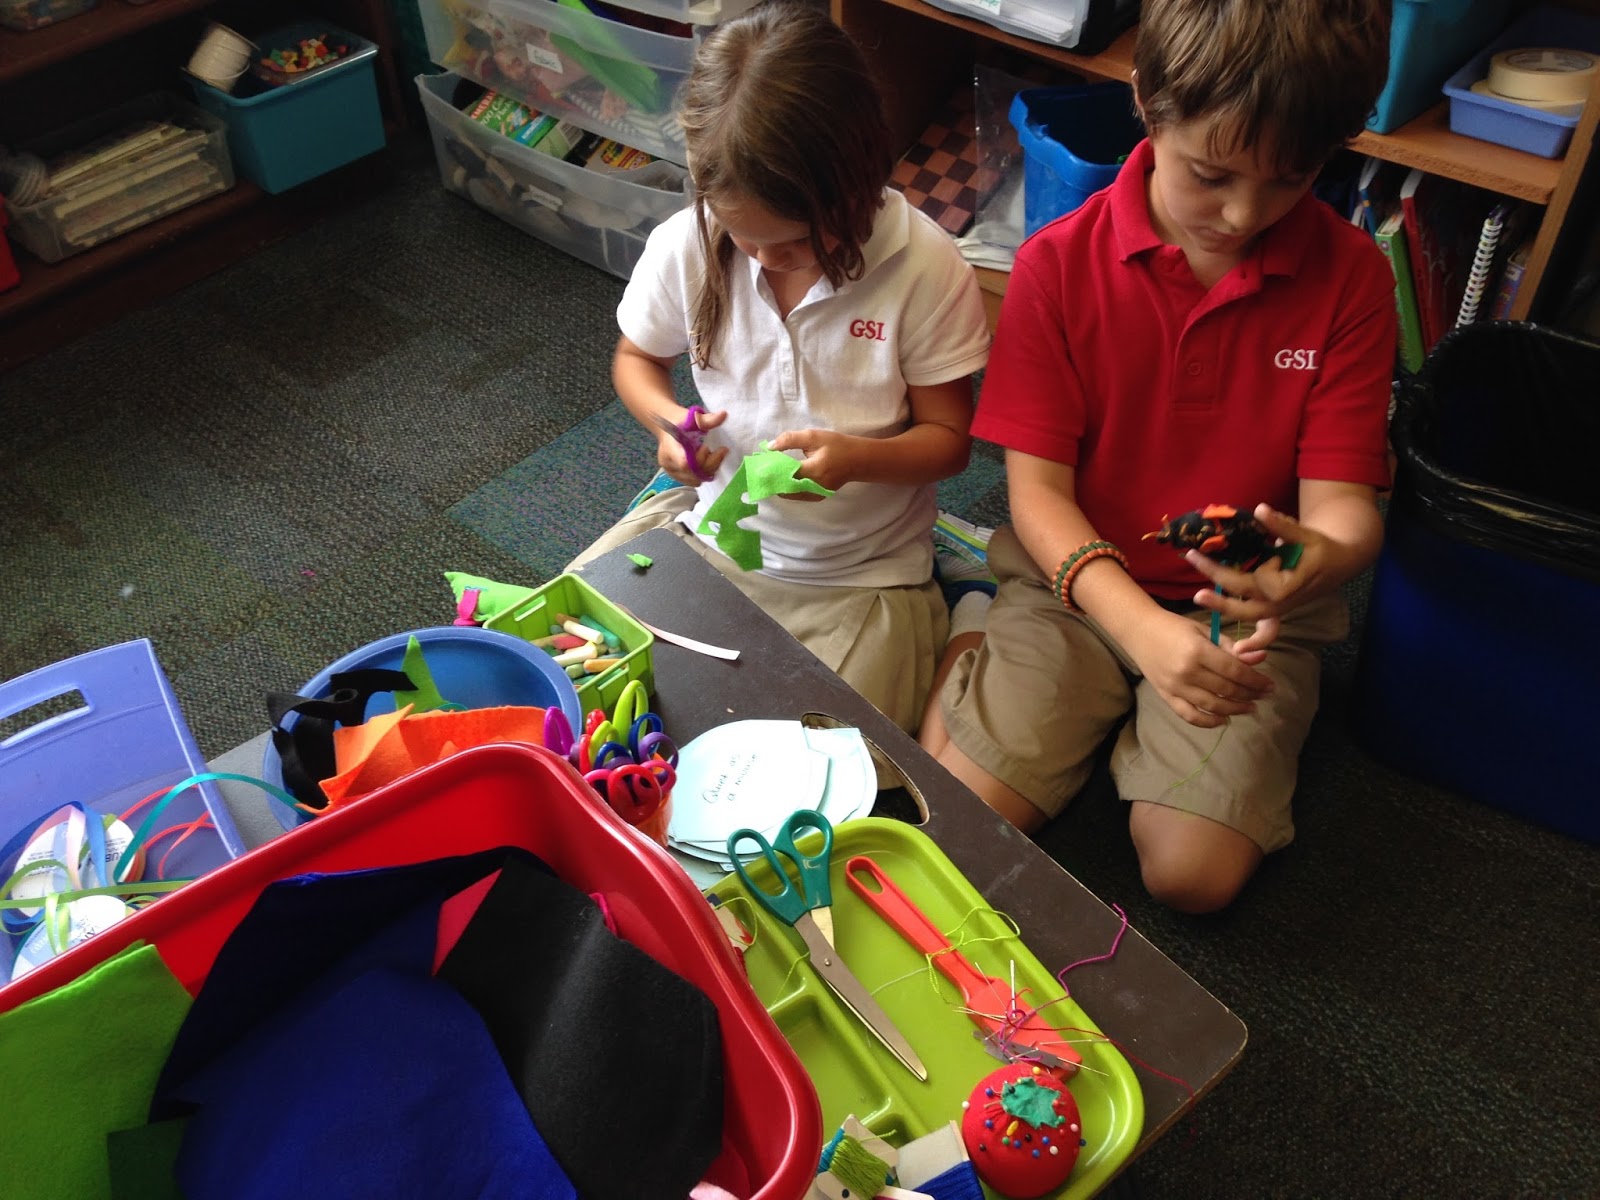
Kids Cook Memphis to lead a Bake Shop, a virtual camp for kids ages 8-14 that combined baking and sewing. Liz and I spent a lot of time planning, talking, and working behind the scenes to get ready for the week long camp. We knew that besides engaging and teaching kids new skills that we were also providing parenting relief, so we set up the camp to last all day from 9-4.
Throughout the week, I was constantly reflecting on how the camp was going from both the teacher and student perspective. What was working (and not working!), how could I use the experience in my classroom teaching, and what tips could I share with other educators? So, here is my take on the week. I hope that you find it useful and will share your own experiences or ask questions in the comments.

Keep the Zoom Open
After a quick morning meeting, I taught my first lesson then had the kids get to work independently while still on Zoom. By keeping the video chat open, students were able to ask questions as needed, held responsible for work, created a virtual classroom community. We were functioning much like a traditional classroom setting where students worked independently while a teacher roamed the classroom or did a quick grading of papers. When campers had questions, they just unmuted themselves and asked. During this independent work time, I was prepping for the next lesson, helping my own children, and answering emails. There was something very comforting seeing each other working.
Having the Zoom open helped me manage camper progress guide as needed. At a scheduled time, I got everyone back together, we shared our work, learned something new, and repeated the process. The Zoom was on all morning from 9-11:30 am and then again in the afternoon from 1-4pm. While we used Zoom for camp, the same concept applies for any video chat application.

Use a Combination of Live Lesson and Recorded Lessons
While creating Google Slides and recording close-ups of hands-on activities takes time, it pays off in the end. The combination of live and recorded lessons also means that the written lessons don't have to be super detailed because you can help to fill in the blanks and answer any questions. When teaching a lesson, I went through the slides with campers and we watched the videos together. They were then able to immediately ask questions and I could check for understanding before I set them off to work. During independent work time, they could go back and watch videos as needed.
Recording hands-on activities allows students to see teaching clearly and close-up. Another idea is to use a document camera or your phone to show close-up work during a live lesson. You can record these lessons to be used later for students who missed class or to use as review.

Have Extensions for Early Finishers
This is always a problem, right? What do you do with those who work quickly? Both Liz and I had extensions for campers who had extra time on their hands. These lessons were placed at the end of the Google Slides for the day.
I was thinking about how in a traditional classroom, students could also have independent studies on topics of their choice that they could start to work on when they finished the core curriculum. 

Daily Schedules are Important
Having a predictable daily schedule will help both you and families stay on task. While you'll need to be flexible, it's really nice to know that you're going to do the same things every day like morning meetings, check-ins, breaks, and finish times. The day "zoomed" by and everyone was happy and felt successful.
We also got feedback from students about what they needed in terms of time and instruction. If the majority of campers needed more time for a task, it was given. If there was a group that was ready for the next step, I taught it and was also there to support those that were struggling. Because were were using Zoom and there were 2 instructors, breakout rooms were super helpful.
Yes, there were some bumps in the road, and not everyone completed every project, but for the most part the camp was a big success. Campers were engaged, busy, and making.

Squidget! for Sew a Softie 2019

Happy Sew a Softie Month! I'm excited to join in with other kid-friendly makers across the globe to share original stuffie patterns that you can make with and for children. For more information and a list of tutorials, visit the amazing Sew a Softie organizer Trixi at Coloured Buttons. 


What's a Squidget you ask? A squishy fidget of course! Last school year I had some students who needed fidgets to help them focus and remain relaxed during whole group learning times. After a few trials and errors and some input from my students, the Squidget was born. They worked like a charm and kept the kids focused, calm, and engaged.


These little guys pack a big punch. Taking a cue from taggie blankets for babies and toddlers, these hand-sized pillows have a variety of ribbons and textures built in for sensory play. The bonus is a marble tucked into the middle of the Squidget for the ultimate squishy fidget experience. We stitched up some Squidgets at camp and the kids loved them and enjoyed finding the trims and ribbons that felt best to them.


OK, let's make a Squidget! Materials needed:
*fleece or other soft fabric
*a variety of ribbons, lace, elastic, and trims
*a marble
*poly-fil for stuffing
* hand sewing supplies (yes, you can machine sew them if you want)


Cut two pieces of fabric into the same sized squares that will fit into the palm of your hand. Ours were about 3 inches. Start sewing along one side. Lay the first ribbon between the two layers of fabric.


Keep sewing, taking care to sew the ribbon down tight. After you sew on a ribbon, it's best to give it a little tug to make sure it's stitched well.  Keep sewing around the Squidget and adding more ribbons and trims until you get to the last side.

After sewing up three sides, stuff the Squidget halfway then add a marble. Add more stuffing until you like the way it feels. Stitch up the last side adding a final ribbon.


Squish and fidget away!


In true Sewing School fashion, you can make it your own by adding a face, stringing a few beads along one of the trims, changing the shape, or adding additional marbles.


Happy Sew a Softie Month!

Remembering Mr. Rogers

The new documentary Won't You be My Neighbor was a wonderful reminder as both a teacher and parent of how to respond to, talk with, and show respect to children. I was part of the generation that grew up watching Mr. Rogers' Neighborhood. He was a big part of my early childhood. My favorite was The Land of Makebelieve and hoping that Lady Evelyn would appear. She was a little bit wicked, and I liked that!

Sadly, my own children were not avid fans of the show. We tried a few times to get them to watch, but it didn't stick. We did have the opportunity to visit the Children's Museum of Pittsburgh when they had a big Mr. Rogers exhibit back in 2009.


The original pieces of the set brought back so many memories and it was fun to share them with my kids. They are so little in these photos - those overalls!


Looking at these pictures now, I see the wonder in their faces and know that they understand the power of Mr. Rogers.


Watching the documentary, I was reminded that it's important for every child to feel safe, loved, and acknowledged. So many times when working with children, I can begin to get impatient and am quick to judge and dismiss their feelings and ideas. Now, I'm not saying that children should be indulged and allowed to do whatever they want, but I do think that offering them the opportunity to share their ideas and stories helps children to feel heard. It's the kid version of venting.

So, as I start to think about a new school year (gasp!), I hope to hold on to the ideas and understanding of Mr. Rogers throughout the year (or at least for the first month!). Wouldn't it be nice if my classroom was as friendly as Mr. Rogers' Neighborhood? Maybe I need to break out my cardigans. I already have the Keds!


Fairy Dust Teaching Winter Conference

I'm excited to be part of the Fairy Dust Teaching Winter Conference!  It's a wonderful on-line conference hosted by the lovely Sally Haughey. The best part about the conference, is that you can watch amazing teachers share their craft in your PJ's and at your own pace!  I'm honored to be among so many talented teachers and presenters.


I'll be sharing "Sew Me a Story." Here, you'll learn how to incorporate sewing into your literacy curriculum and get a TON of ideas for story and project combinations.  The presentation is pre-recorded, so you can watch it at your leisure.


I'll share a few winter-themed tutorials to get you going. This presentation is perfect for teachers and families who want to sew more with kids, but aren't sure exactly where to begin.


Sally and I met this fall at the NAEYC conference and immediately hit it off.  I'm so honored to be part of this amazing conference to work with one of my early child hood education heroes!


While the conference begins on February 3, early bird registration is going on now, so don't wait to sign up for the Fairy Dust Teaching Winter Conference!

The 14 Days of Christmas


Happy Holidays from my 2nd grade class!  We had fun rewriting the 12 Days of Christmas to the 14 Days of Christmas.

See you in 2016!
xoxo-amie

Give Thanks: 5 Projects for Kids

I was just perusing posts of Thanksgivings past as I prepare for a Day of Thanksgiving in my second grade classroom.  It's hard to decide what to do, but the Oreo Turkeys are a must!


Thanksgiving Story Bracelet (via My Montessori Journey)

Having a quick link roundup is always handy, don't you think?  Off to plan my lessons!

Happy Thanksgiving to your family from mine!

Sewing Mice in the Classroom

The Quiet Mouse project from Sewing School is the perfect classroom sewing project.  It's small, quick, adorable, and is open to interpretation.  Plus, it's easy to fit into the curriculum - there are so many stories that have mouse characters!  We read Aesop's "The Lion and the Mouse" in the beginning of the school year, and I always enjoy stitching up some cute mice to go along with the story.
I had all the supplies ready to go and gave the kids about 30 minutes to stitch their mice.  While I modeled the steps, I also posted the pages from Sewing School so that the kids could refer to the directions as they sewed along.
Here's what I love - a mouse (or maybe a dinosaur/mouse?) with felt legs!
This little guy worked so hard on his mouse and then wanted to sew another one!  
Such pride and a wonderful show of creativity!  

In the classroom, you can take this activity a step further and write a story about your mouse or put on a mouse filled performance.  We also had fun reading other stories with mouse main characters like If You Take a Mouse to School.

He Huffed and Puffed Revisited

Last week I revisited one of my favorite lessons, and most popular posts, The Big Bad Wolf!  I busted out my old hairdryer and taped on some new ears, and we were in business.  

Originally, the lesson was part of a fairy tale unit I did with kindergarteners.  It's an awesome STEAM lesson where you build a pig house using fun materials and then see if the Big Bad Wolf, aka my hairdryer, can blow it down.  

This year, I had fun with my second grade class after reading "Ant and the Three Little Figs" along with a variety of other Three Little Pig stories, our favorite being The True Story of the Three Little Pigs.  We also got to talk about force, stability, weight, problem-solving, predictions, and balance.  It's all in there!
 I followed the lesson pretty much true to the original and had similar results.  The changes, however, were due mostly in part to older age of the kids.
Everyone was insanely jealous of the group that got to build with Legos, because they knew without a doubt that the Lego house was the strongest.  I felt that some kids turned it into a contest instead of really seeing what their material could do.
The pipe cleaner and deck of cards groups basically felt defeated before they began and had some trouble working as a team (I had 3 kids per group).  We did get a big laugh when the pipe cleaner house just blew off the table!
The house of recycled boxes did quite well.  I was impressed with their strategy to put boxes inside of boxes to give the structure more weight.  It stood up quite well to the Big Bad Wolf!
Next time, I think I'll allow the kids to choose their materials so that they have more at stake and perhaps take out the Lego option all together.  If you've tried this activity with your students, I'd love to hear your thoughts and ideas!

What can your wolf blow down?!

100th Day of School Fun

 Only three days left until the100th day of school.  My time has flown....

Last year, we had fun in 2nd grade building with 100 solo cups.  In fact, this activity continued throughout the year.
I've posted a few times about the 100th day here and here if you are looking for a few fun ideas.

Second Grade Thanksgiving

Happy Thanksgiving from my second grade class!  We had a lovely "Day of Thanksgiving" that I wanted to share with you.

Of course, we made yummy Oreo turkeys!  The kids joked about "eating the whole turkey" all day long.
 Making Thanksgiving Story Bracelets was a big hit.  They loved how each bead represented a part of the story and talked about how maybe they could write similar stories for Christmas.  I'm hoping they do!
 The kids were so super excited to make Woven Placemats.  
Since they are old enough, they followed along while I guided them through measuring, cutting, and weaving.
 I cut out the strips, but they did the rest and were so proud of it!  The placemats stayed on their desks all week.
 Currently, we are working on counting up to make change.  This wonderful Thanksgiving Feast activity was perfect!  I tweaked it a bit to fit my needs.
Hope your Thanksgiving is full of friendship and fun too!