

The favorite project at In Stitches! camp this year was the Selfie Pillow. Each pillow is unique as the camper who made it! My favorite part of the project is the hair and I even dedicated an entire page in Sewing School Quilts to different hairstyles. We discovered a new technique for wavy hair this year - ric-rack!
Not only does the Selfie introduce a variety of embroidery stitches, turning it into a quick pillow teaches simple patchwork. In Sewing School Quilts, the project is made into a quilt, but for camp, we thought a pillow would be a fun and quick project.

First, using the directions in Sewing School Quilts, make a selfie square. We used 8x8 squares of muslin for our selfies. This size seems to be a good beginner size.

To make this size, you'll need patterns that are:
2-1/2 x 8 inches (cut 2)
2-1/2 x 12 inches (cut 2)
*Note that you you can just measure and cut the fabric.


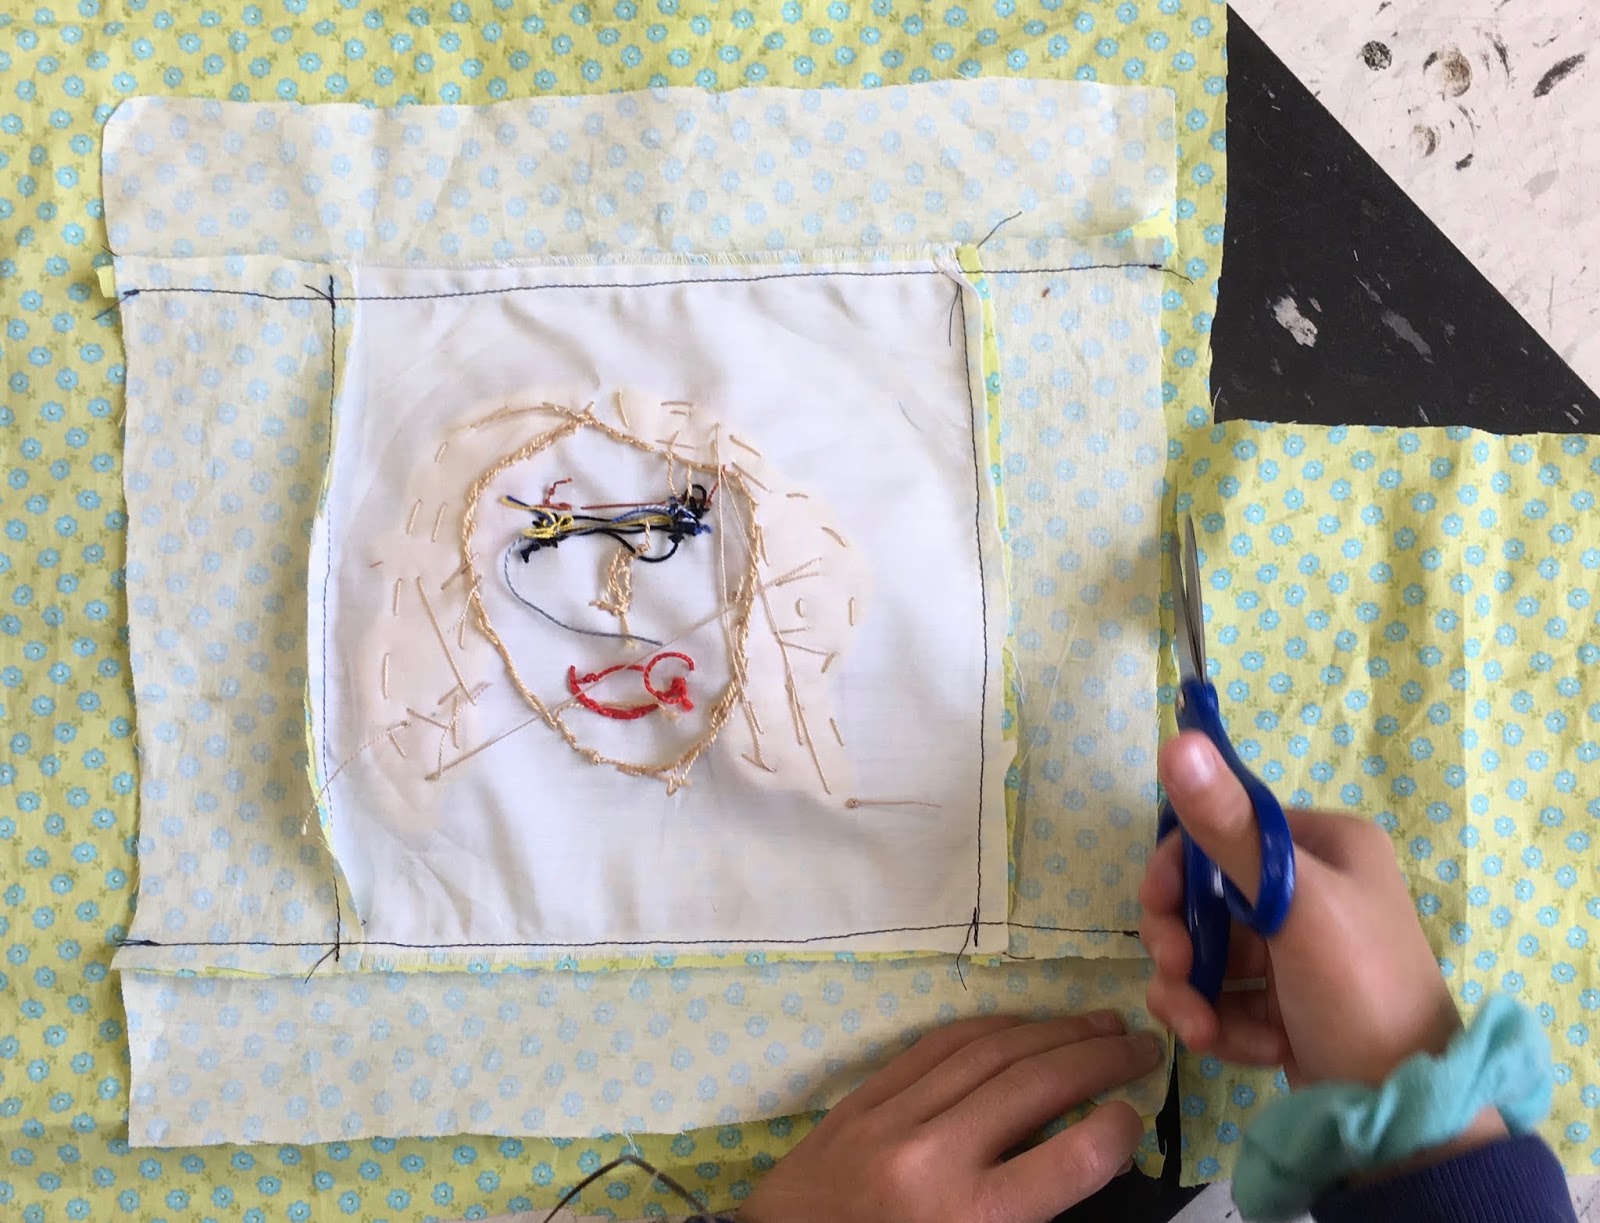
Flip over the sides, so that the good sides of the fabric are covering the face. Pin in place so that the edges are even. Using a sewing machine, stitch the fabric strips to the selfie.


No comments:
Post a Comment