Showing posts with label sewing club. Show all posts

Sew a Fluffy Cloud Softie


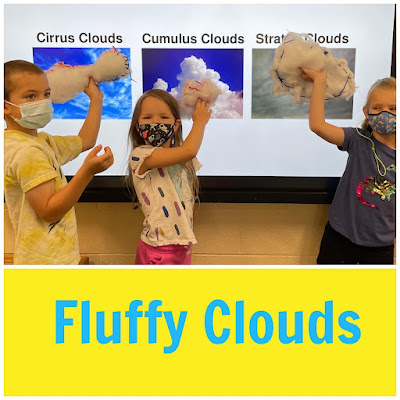
As part of the 2022 Sew a Softie Global Kids Sewing Party, I stitched up some Fluffy Clouds with a group of 4 and 5 year olds. Yep, preschoolers can sew too! It's all about having the right tools for little hands to use. 
Materials Needed: 2 layers of low-loft batting, markers, scissors, plastic needles and lacing strings. You can also make clouds using felt and regular sewing needles and thread. 
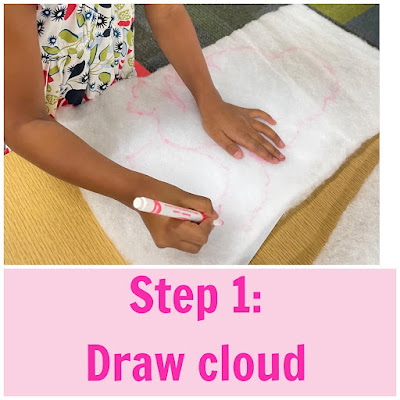
After learning about how clouds are formed and drawing several clouds on paper, draw your cloud shape right onto the double-layer of low-loft batting. Drawing on batting is a bit tricky, and you might need to combine clouds to get the right shape, but it is a fun, new experience. 
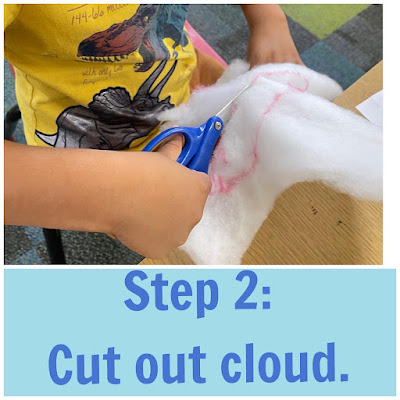
Next, cut out the cloud shapes. Be sure to cut through BOTH layers of batting and take your time! Save the batting scraps to use as stuffing. 
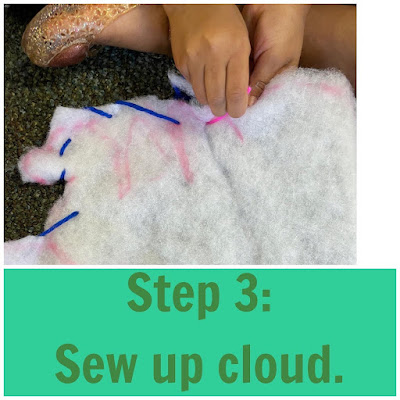
Now it's time to sew up the clouds! We used plastic needles and lacing strings, but you could also use regular needle and thread for this. The plastic needles slide through the batting easily. 
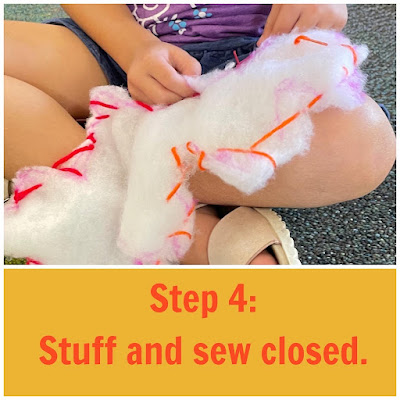
Be sure to leave a small hole (about the size of your hand) for stuffing! Use the batting scraps or polyfil to stuff the cloud until it's soft and squishy. Now, sew the hole closed and be sure to make a knot at the end of sewing.
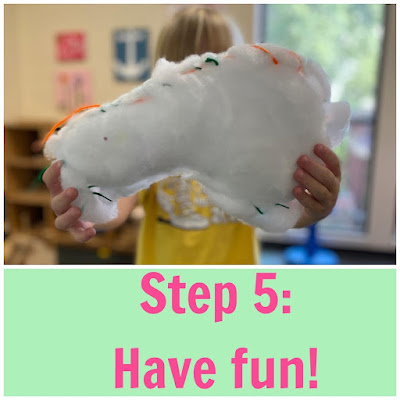

You have a fluffy cloud! They make great pillows, are great for throwing up in the sky, and enjoy getting hugs too. 

What kind of cloud did you make? A cirrus, cumulus, or stratus cloud?

Sew a Softie is a world-wide initiative led by the amazing Trixi Symonds. Follow along on IG at @sewasoftie to see all the amazing tutorials and kid-friendly projects.  

Animal Face Bags


These cute animal face bags are so much fun and easy to make. The kids whipped them out in Sewing Club in an hour.

Since our time was limited, we made our bags about 8-1/2 inches by 8 inches. I cut them on the fold, so the sewists only had to stitch up the sides.  I don't always cut out the fabric first, but I wanted them to focus on the animal face, not cutting out the bag fabric.

Lots of choices with this project.  If you want to sew on the face, do that first.  If you are using hot glue, then sew up the bag first, then add the face. The handles can be whatever length you want.  Crossbody bags are popular with this group.

No patterns for the animal faces, just some ideas to get the kids started.  Stick-up ears work best if made out of felt. Button eyes are fun! Fabric markers are perfect for quick details.
Meow!

Stuffed Animal Vet Clinic


One of the bonuses of being able to sew is that you can repair stuff.  Sewing is super useful!  Hosting a Stuffed Animal Vet Clinic at your school or community allows young sewers to use their sewing skills to help others while repairing loved stuffies.  I believe it's a much needed community service project!  Little Stuffed Animal Vet Clinics should start popping up all over.  But I digress.....

This month, Sewing Club hosted a Stuffed Animal Vet Clinic for our school.  We collected more than 30 injured stuffies and restored them back to life. The kids were so proud and really took their time with the repairs.  Some repairs required good problem solving skills and even teamwork.

Thinking about hosting your own Vet Clinic?  Here are some tips:
*Get the word out!  Let people know what you're doing a few days in advance.  Kid-made signs and announcements are the best!

*Decorate a collection box.  We placed cardboard animal carriers around the school to collect the stuffies, but decorated cardboard boxes would work too. Limit collection to 1 or 2 days before the event.

*Use tags or tape to ID the stuffies. For ours, we made sure we had the owner's name and classroom teacher so that they could be returned.  Shipping tags from an office supply store work well.

*Gather vet supplies: You'll want to make sure you have plenty of brown, black, and white thread on hand along with a variety of colors. You might also need some stuffing and perhaps some felt to make prosthetics. (yes, you read that right!)

*If time allows, add an extra.  We had the vets right a quick note on the back of the tag and make a fabric bandage or bandanna for the stuffie.

*Return repaired stuffies to their owners right away!

Hope you're inspired to host your own Stuffed Animal Vet Clinic!  Sewing School has more tips for repairing injured animals.

Little Aprons

 We started off our new preschool "Sew Me a Story" series by making these cute aprons with pockets.
Our inspiration was Eric Carle's My Apron.  I found this gem in the public library and was immediately inspired to sew an apron.  After reading the book, we discussed ways that they might use an apron.  Cooking?  Gardening?   Building?
I prepped the burlap aprons for these 3-5 year olds by machine sewing on about 18 inches of ribbon on each side.  I also cut out pockets in various sizes and colors of burlap.  They loved choosing the perfect pocket to sew onto their apron!
 Using plastic needles and lacing strings, the kids carefully stitched on the pockets.
 I was surprised by how many kids just took off sewing!
 After stitching on their pockets, the kids drew paper objects to put into their apron.  There were lots of flowers and tools and even this dinosaur!
We enlisted several fourth graders to help us.  They were so sweet and it was great to see many of the kids we sewed with at this age, now teach sewing!
Everyone was so proud of their aprons and were excited to wear them home!

Sewing at the Garden

 This week, I had the opportunity to sew with the kids at the Carpenter Art Garden here in Memphis.  What a wonderful organization that really connects kids to art, nature, gardening, and culture.  I decided to make a felt version of the Just Right Pouch from Sewing School.
 I precut the fabric and threaded a bunch of needles so that the kids could sit down and begin to sew!  If you are interested in taking a sewing project to a group like this, my advice it to be VERY prepared.  Have everything ready to go so that you can spend time helping the kids sew, not getting materials ready.  Also, a simple, yet practical project like the pouch appeals to everyone.  
The scene at the Art Garden.  There were 6 craft tables going on, bikes being repaired, snacks passed out, and tutoring going on while I was there.  My two children (ages 8 & 11) helped out and I also recruited a teenage volunteer to help with the sewing.
The kids were excited to sew!  We had many first-time sewers join in, but many were experienced and so happy to make something.
 Many kids talked about learning to sew from their grandmothers and mothers.   
This young man sat by me all afternoon making pouch after pouch.  His mother taught him how to sew, and he was busy making pouches for the entire family!  I hope to visit the Carpenter Art Garden again and keep them sewing.

Writing Cloth Books

 I've had this idea in my head for awhile now -  using fabric to tell stories.  I was a little unsure about bringing it to Sewing Club with 30 kids ranging from kindergarten to fourth grade, but we took the plunge.  I'm so glad we did!
  The kids immediately took to the project, which we spanned over two weeks.  I cut out a variety of broadcloth squares, measuring 6x6 and gathered fabric with large and fun images.  Of course, I had to use Carrie Bloomston's Story fabric!  Along with fabric markers, the kids had fun using fabric to inspire their stories.
 They used glue stick to attach their images to the base fabric and then depending on mood, ability, and age, the images were sewed down, or not.  Some kids just had fun writing stories on fabric squares using fabric markers.


 Once the story was complete, it was time to bind the fabric pages together.  Older kids used the sewing machine to sew the pages together, while most kids used a whipstitch for the binding.  If there were too many pages or the words were written too close to the edge, I helped the kids improvise by just sewing together the top and bottom corners of the book.  It read just fine.
 One sewer decided to make a Story Pillow.  Love this!   She will have sweet dreams after reading the tale of "Princess Tutu"!
The best part was watching the kids share their stories with each other.  Yes, life is love!

Valentine Sewing

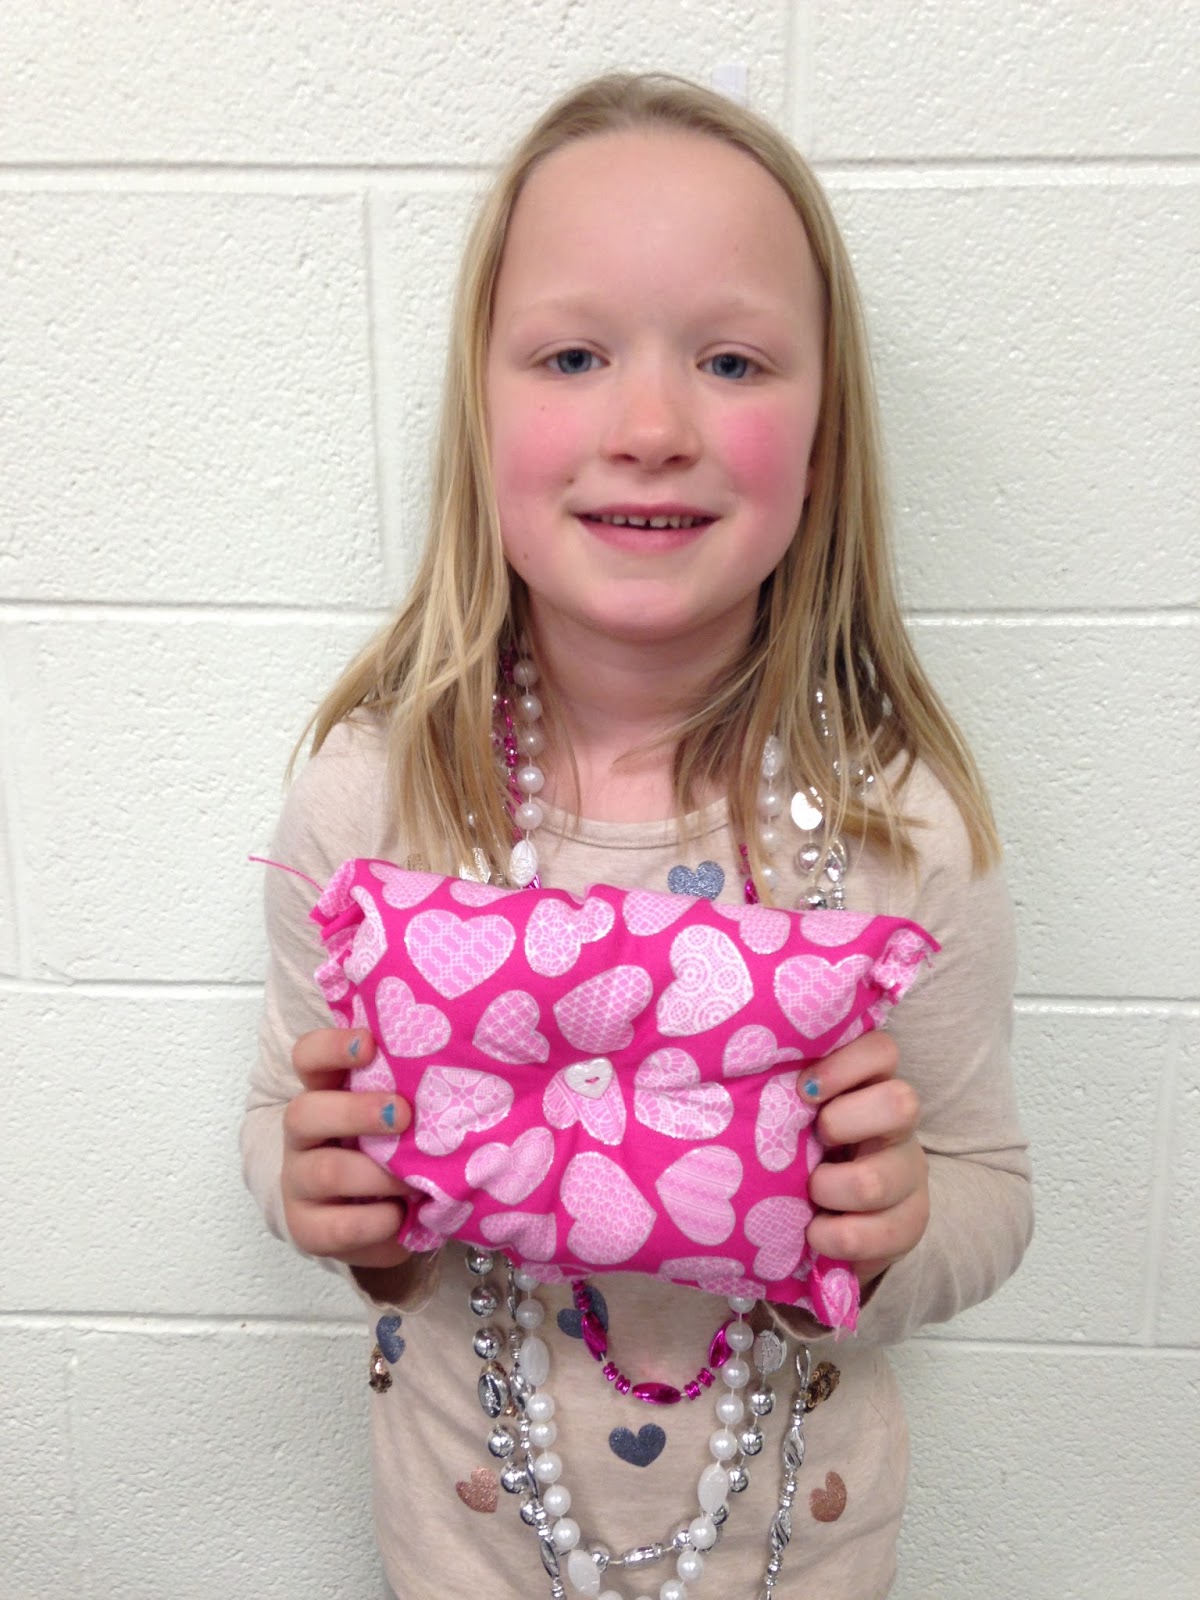
In Sewing Club this week, we set out a variety of Valentine prints and let the kids follow their imaginations!  From pillows, to heart shaped bags, to aprons, the kids had fun making Valentine themed projects.
 For more inspiration and ideas, click on the Valentines Day label and check out the Valentine sewing page on Instagram.

Scrappy Heart Pins

These sweet Scrappy Heart Pins we made in Sewing Club turned out so cute!  I love how each one is as unique as the sewer.  This would be a super fun party craft or if you got really into it, you could whip one up for each member of your class!
 Cut out a felt heart to use as the base.  Next, lightly glue stick fabric scraps to the heart.  It's OK if the scraps overlap the heart, you can trim it up later.
Time to sew!  You don't have to stitch down every little bit of fabric, just make sure you have a stitch or two here and there to keep the scrap in place.
 The older kids enjoyed machine stitching all around and back and forth.
 Hot glue a pin back or a magnet to the back of the heart. These would also be cute on headbands or as a necklace.