Showing posts sorted by relevance for query dr. seuss. Sort by date Show all posts

Learning with Dr. Seuss

 Dr. Seuss day is big deal at my school, for good reason.  We can learn a lot from the Dr. such as caring for the earth and each other, trying new foods, word families, and tongue twisters.  I was a little nervous coming up with activities for my group of second graders, but soon found that Seuss fit into every aspect of the curriculum. 
Who knew compound sentences could be so much fun?!  Using silly Dr. Seuss images as inspiration, the kids wrote compound sentences about them.  The entire second grade filled the hall with fun sentences.
 We are learning how to correctly combine two sentences to make a compound sentence using commas and conjunctions. 

Our new science unit focuses on plants.  What better way to kick it off than making Lorax pots?!  We will plant our seeds in them after Spring Break.  Before making our pots, we read the book and talked a lot about the importance of plants and a healthy environment. 
 After designing and cutting out the Lorax mustache, the kids had fun hot gluing the face onto the pot.
 Each Lorax is unique and fun!
Our door is filled with Dr. Seuss doubling math stories!  As part of our math unit, we discussed doubling and how it relates to multiplication.  The kids had fun imagining Dr. Seuss characters doubling right before their eyes!

We also wrote silly OO (as in foot) poems to go along with our phonics study this week.  I didn't take pictures of the results, but the tongue twisters and rhymes were right out of a Dr. Seuss book!  Can you guess what a "Yook on a hook" looks like!?

Getting Wacky with Dr. Seuss

One of the most fun Sewing Club sessions is Dr. Seuss week!  Our school gets all excited for Dr. Seuss and so we had to play along.  I forgot my "real" camera, so the kids took pictures with the "kid camera."  So, here you go!
Little Seuss hats were made.
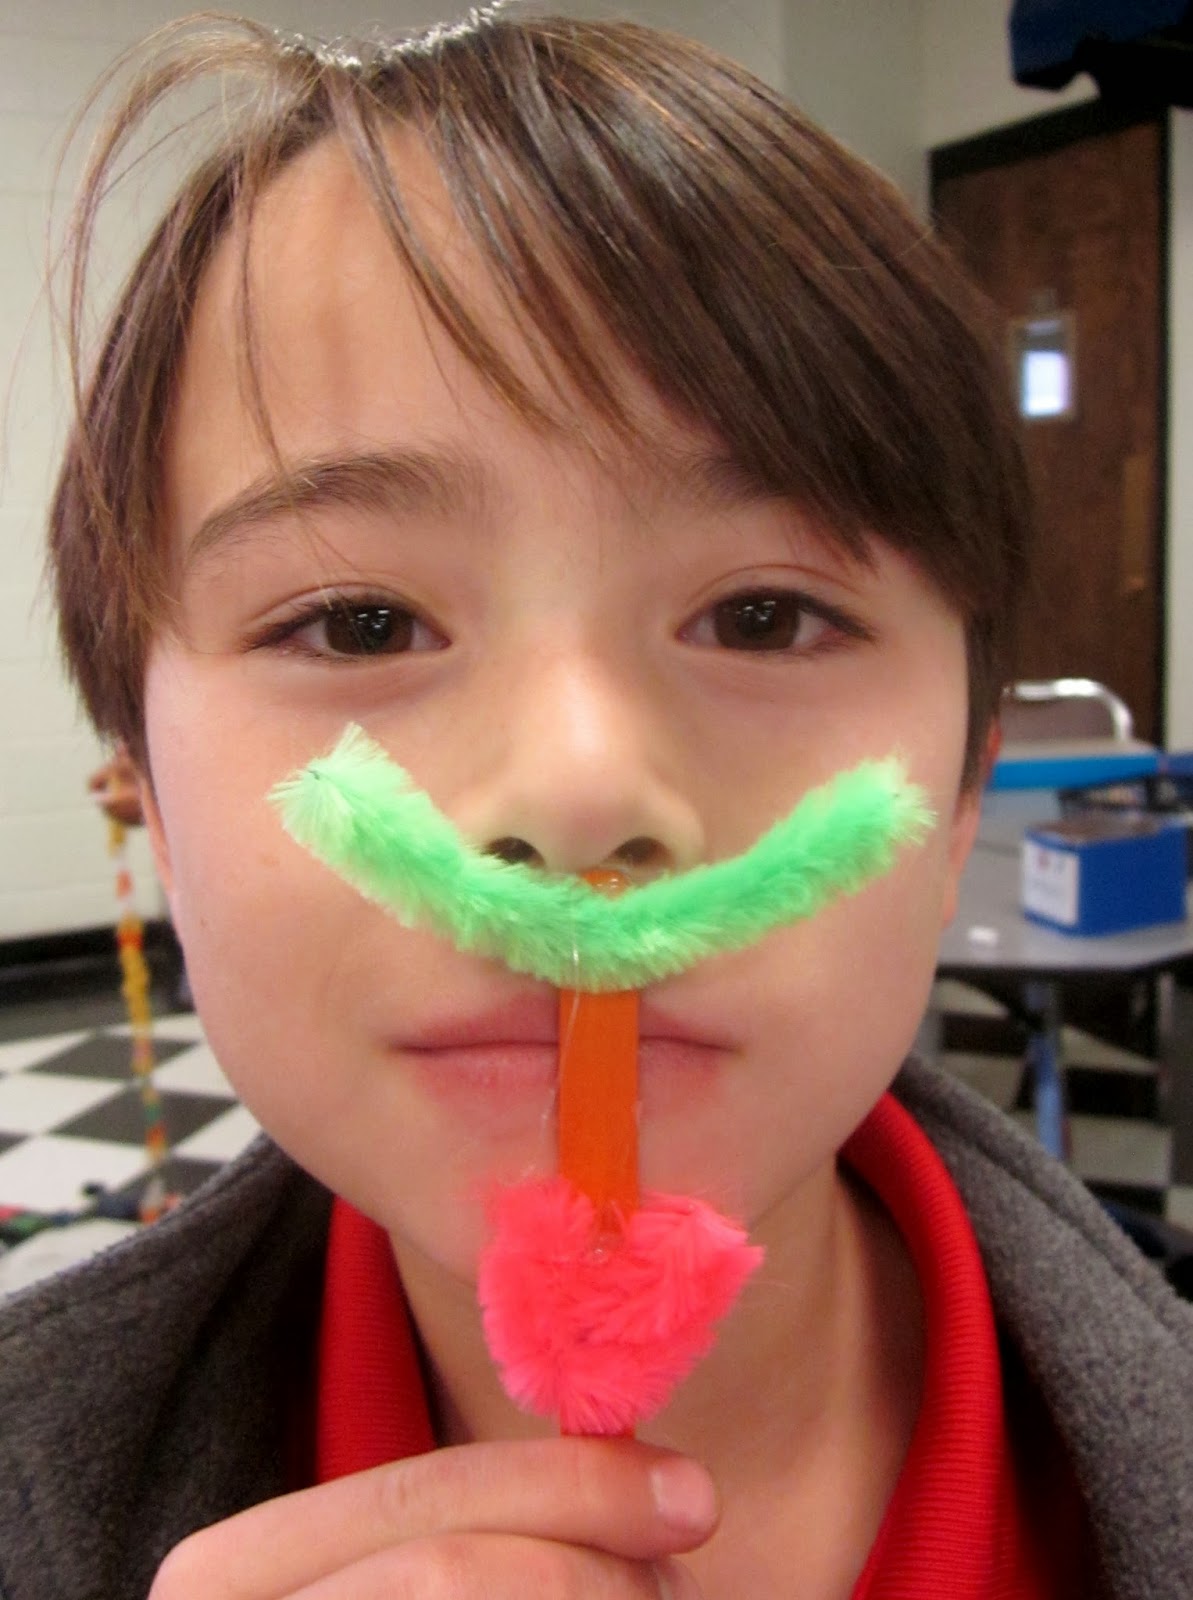
Wacky Headbands were a favorite.  Give kids a headband, some pipe cleaners, and a bunch of random craft supplies and you have a Wacky Dr. Seuss Headband!
While some sewed their embellishments, most were hot glued. Hot glue is so magical for a kid!
A little stuffed Lorax was made.  Next year, I'm going to try to use the Your Little Friend pattern for a Lorax.
Why, hi, Daisy Head Mayzie!

The Pocket Pal became a Wocket for your pocket.
Gertrude McFuzz inspired tails using strung pompoms.
Happy Birthday, Dr. Seuss!

Fun with Seuss!

Happy Birthday to Dr. Seuss on March 2.  Planning for next week, I was going through the blog to remember some fun Dr. Seuss activities I've done in years past.  Such great projects and memories...


Next week we'll be sewing up some Seuss inspired activities in Sewing Club.  Can't wait to see what the kids make this year!

I'd love to hear about your Dr. Seuss projects and ideas.

Everyday is a Seuss Day!

Yes, I know Dr. Seuss's birthday was last week, but I wanted to share the highlights from our "Theo's Thursday" celebration. Dr. Seuss (aka Theodore Geisel) is a kindergarten dream. His books are so accessible and just right for these little learners.

We, of course, ate green eggs to go along with Green Eggs and Ham. But since we are in the south, we made biscuits instead of ham. A big hit, I say!

Here are some of our other activities-

The Foot Book's Silly Sandals

How to: Keep your shoes on and trace each foot onto cardboard (good use of recycled cardboard). Cut out feet tracings. Decorate sandals if you desire (we used markers and dot painters). Tape a 2 inch wide cardstock strap to the underside of the sandal. Try on! You might have to adjust the straps.

There's a Wocket in My Pocket!

How to: Inspired by this, we decided to use library pockets and make popsicle stick wockets. Just put out a lot of different materials for the kids to create with. We pre-made the pockets with string for easy craft and go. There were no shortage of cute little wockets running around!

The Cat in the Hat hat

How to: Cut a wavy edge on a piece of red construction paper. Now, cut out white strips and glue them to the red paper. Next, staple the red and white paper to the center of a sentence strip or long piece of narrow paper. Measure around head and staple shut. Ta da! A Dr. Seuss hat!

Horton Hears a Who clover bookmark

How To: We really liked this activity, but didn't have green pencils, so we thought - bookmarks! Cut strips of green cardstock into 2 inch strips. Hot glue a big pompom for the clover and a little pompom for Whoville and you've got it. The kids also decorated the stems or wrote on them.

Hope you have your own Seuss fun!

Seuss Yourself!

In honor of Dr. Seuss, we had fun in Sewing Club making Seuss-like accessories.  For inspiration, we read Oh, the Things You Can Think!.  Then, the kids wondered, "If I was a Dr. Seuss character, what would I look like?!"  The results were fun and oh-so-creative! 
Truth be told, very little sewing went on this week.  There was a lot of hot glue, though!  We found these awesome giant chenille pipe cleaners that were a big hit and had headbands (purchased at our local dollar store), alligator clips, pom-poms, feathers, and craft sticks on hand.


Today at school, I enjoyed seeing the kids wearing all of their Seuss inspired accessories.  I'm sure the Cat in the Hat would be proud!

Holiday Reads: The Grinch

I am in love with these How the Grinch Stole Christmas inspired pictures! After reading the book and having a great discussion about the Grinch and why Christmas can't be stolen (we used our knowledge of the Nativity from yesterday), we closely examined the illustrations.  How did Dr. Suess illustate the book?  What colors did he use?  Are there different shades of red?  What is an "accent"?

Jill did a great demonstration of how she would draw a Grinch inspired picture of a Christmas tree and then the kids got to work.
 First, the kids drew with a black a Fair pen.
 Then, they went back and colored in certain parts of their drawing with red.  I had fixed baskets of red - red markers, red crayons, red colored pencils - to chose from.
 I couldn't chose just one to show you, so I here are several. 
The kids really got it and those that usually rush through their work, really took their time and produced lovely drawings.
 To round out the lesson and get in some writing, we made a simple flip-up gift book.  The idea was to draw and label gifts that you were giving to others.  The kids "gave" gifts to their parents, brothers and sisters, and grandparents.  They were very sweet and really thought about the recipients. 
During rest time, we watched the animated version of How the Grinch Stole Christmas.  Afterwards, there was a lively discussion comparing and contrasting the book and movie versions. 
Books read:
How the Grinch Stole Christmas by Dr. Seuss
Movie watched:
Dr. Seuss' How the Grinch Stole Christmas

Excuse Me, are you the Cat in the Hat?

 This Cat in the Hat hat is guaranteed to transform anyone into an instant Dr. Seuss sensation.  I made this tutorial for my class and thought you might like to make one too.  It's meant to be very simple and independent for kids of all ages to make.

Materials:  1/2 sheet white copy paper, 1 sheet red construction paper or cardstock, 1 sentence strip (or other long strip of paper), glue stick, stapler, scissors, pencil.

Let's get started!  Phoebe & Winnie will show us how.
 Step 1:  Cut white paper into strips.
 Step 2:  Glue the white strips onto red paper.  Look, stripes!  At this point, if you want to shape the hat so it's not so rectangular you can.
 Step 3:  Staple the red paper onto the sentence strip.
 Step 4:  Measure the ends of the sentence strip around your head.  Ask a friend to help you.
 Step 5:  Staple the ends of the sentence strip together to fit your head.
 Step 6:  Don't forget to put your name on the back!
Hello, Dr. Seuss!