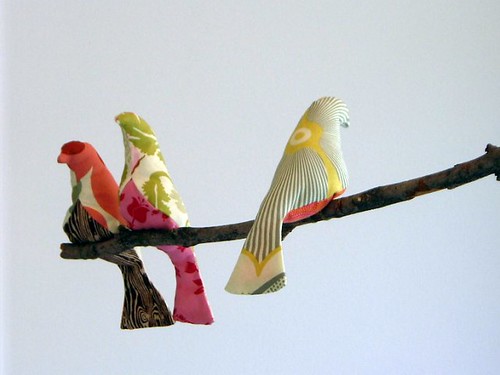
The first Sewing School Lesson - How to Make a Toy Mouse. This mouse is very versatile, it can be a pin cushion, cat toy, or just fun little mouse for play.

Inspired by Lois Ehlert's
Hands where a young Lois makes cat toys with her mother, my Kindergarten class made their very own cat toys. This project was such a big hit, I thought it would be a good one to share.

Materials List: felt (really any fabric works), thread & needle, scissors, pencil & paper, ribbon and other crafty materials such as buttons, pom poms, and googly eyes are good too.
Step 1- Make your pattern on a folded sheet of paper.

Step 2 - Cut out pattern. Open up paper. Trace onto fabric.

Step 3 - Cut out fabric. Fold fabric. Pin together.

Step 4 - Sew together. Leave a hole for stuffing! (I used a whipstitch, but a running stitch is OK.)

Step 5 - Stuff the mouse!

Step 6 - Sew the hole closed.

Step 7 - Cut out 2 ears from fabric.

Step 8 - Sew on ears. Put one on each side.

Step 9 - Time to make it your own! Add a ribbon or felt tail. What can be the eyes and nose? Buttons? Beads? Does your mouse have spots or stripes?

This mouse was made from cotton fabric turned inside out. Then, the eye was sewn with thread.

You can also stuff the mouse with some catnip so a cat can play with it! If you're making a cat toy, don't use small things like buttons or beads that could make a cat choke.
Note from the teacher: I tried to make the directions very kid-friendly (hence the number of steps and short sentences). Kids may need help threading the needle, tying off, and sewing on the ears and decorations. Many of my students opted to use craft glue to attach pompoms, buttons, etc. If using glue, make sure it's not a cat toy.
Hope you have fun making your little mouse!


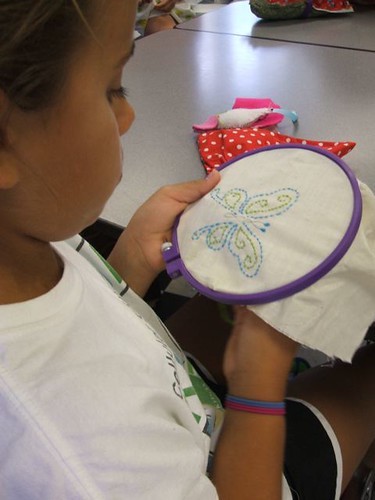
 My favorite day in Sewing School is the day we break out the embroidery hoops! We typically have enough hoops for 6-8 sewers at a time to embroider. At first, the kids seem pretty overwhelmed by the idea of painting a picture with their needle and thread. Then they realize the sky's the limit, and we have students embroidering portraits of their pets, flowers, and their names on muslin that they can later applique to pillows, purses, shirts, or skirts. At Sewing Camp this summer, I brought in a copy of


