

Ours has a little pocket on one side and a handle for easy traveling. When designing the pillow, I was very much inspired by this cutie from Maya*Made.
1. Cut fabric 13-1/2 x 18 inches. If you are machine sewing your pillow or want a big one, you can use a fat quarter size (18 x 11 inches).
2. Cut out a pocket from scrap fabric. Sew the pocket onto one side. Make sure the pocket is open towards the top of the fabric. I showed the kids how to first fold their fabric in half to figure out where to place the pocket.
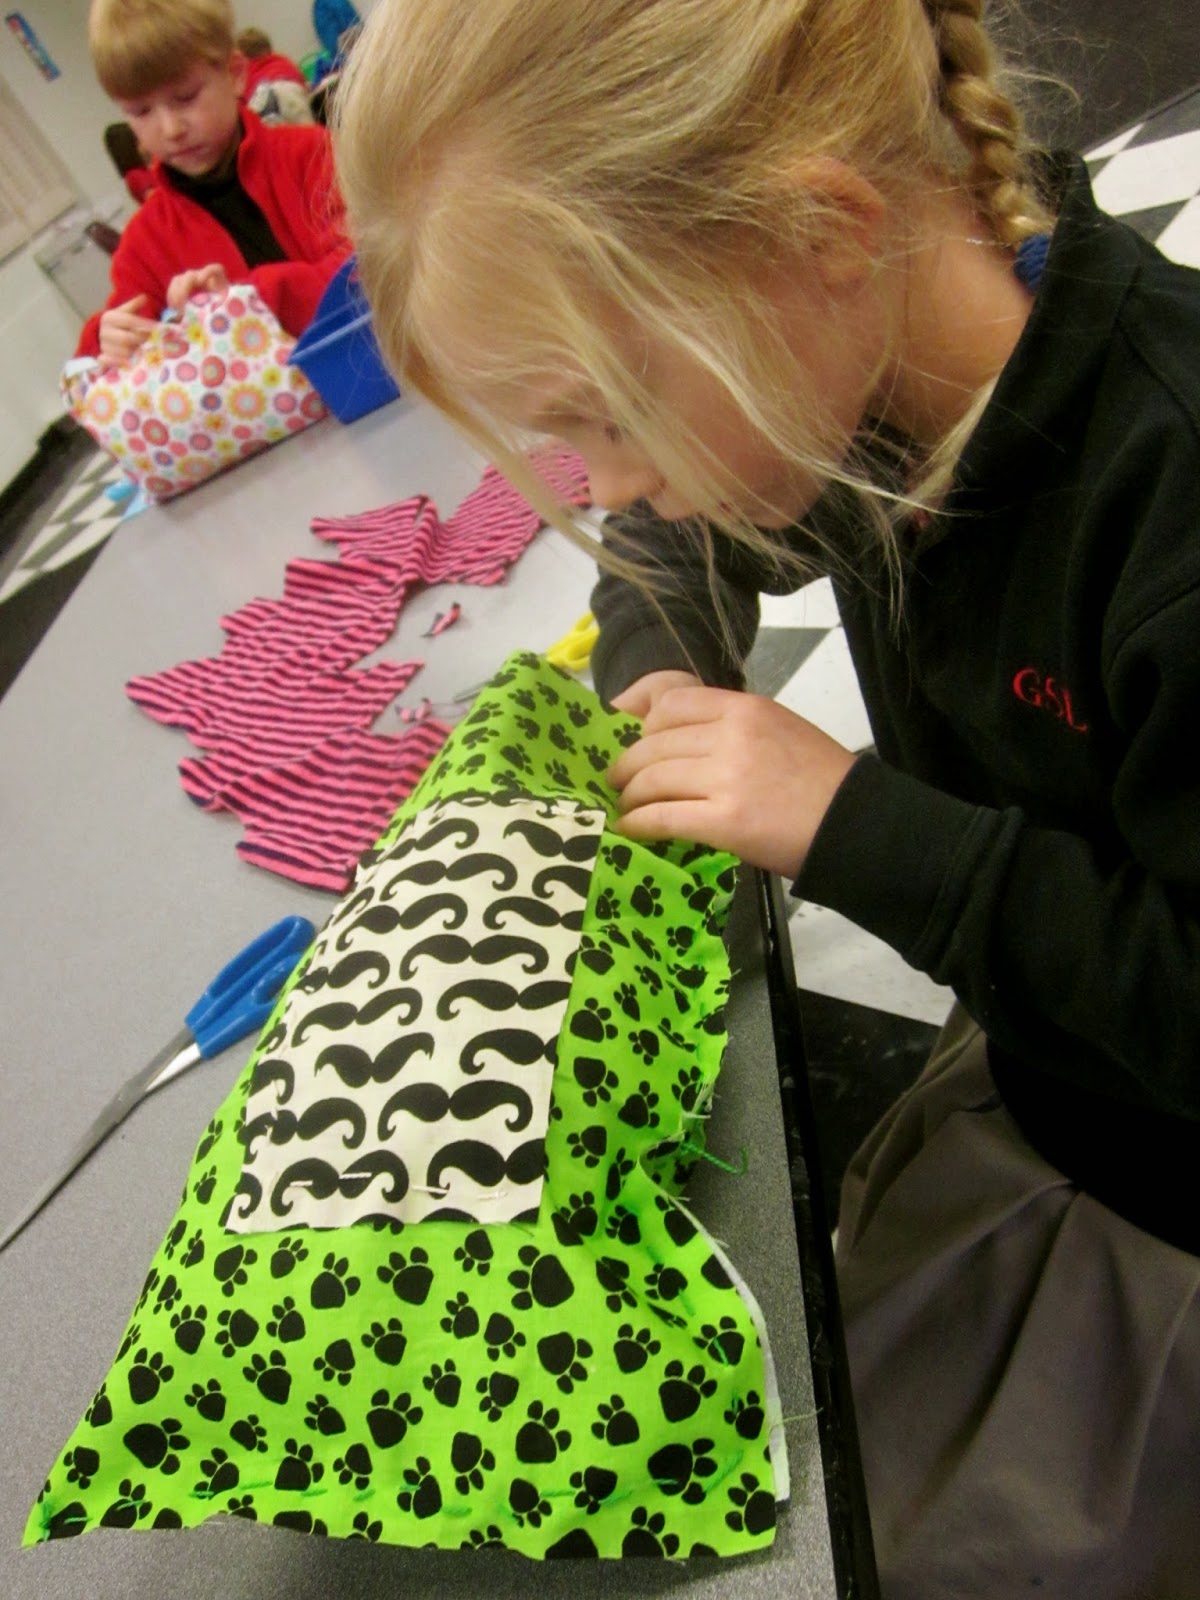
3. Fold the fabric in half. If handsewing, the good sides are facing out. Beginning at the bottom of a short side, start sewing all the way around the three open sides. Turn the second corner and stop to stuff the pillow. After it's all plump, you can finish sewing it closed.
4. Add 18 inches of ribbon for a handle. Sew the ends of the ribbon down with several small stitches so that it will hold tight.
With precut fabric, most kids made one in under an hour.


No comments:
Post a Comment